Please download the Instructions for use in your language
Step 1
1. Place the test stand on a flat surface.
2. Gently pull on the buffer cap to separate it from the top of the testing device.
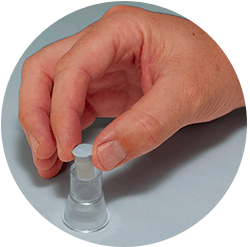
3. Drop it into the bottom of the test stand using your finger.
Step 2
1. Wash your hands, preferably with warm water, and dry them.
2. Open the packets containing the disinfectant wipe and the sterile pad.
3. Swab your fingertip with the disinfectant wipe and wait for the finger to dry.
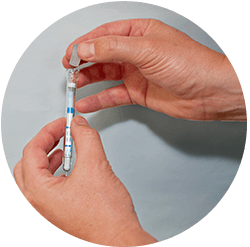
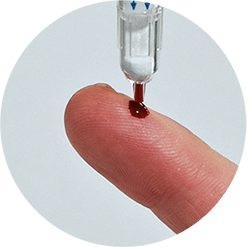
4. Remove the transparent cap from the safety lancet.
Place the red end of the lancet onto the side your fingertip and press down firmly to prick your skin with the needle.
5. Gently squeeze your finger to form a first, large drop of blood. Wipe drop away using the sterile pad.
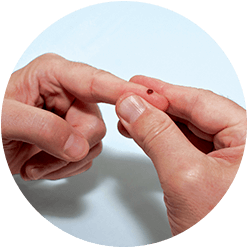
6. Without pressing too hard, gently squeeze your finger once again to form a new, large drop of blood.
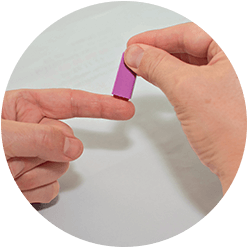
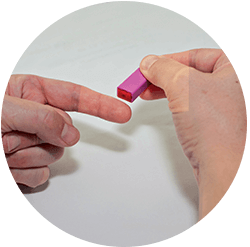
7. With the testing device pointing downward as shown below (angle of 90°),
touch the drop of blood with the tip of the device until the pointed end has filled with blood.
Step 3
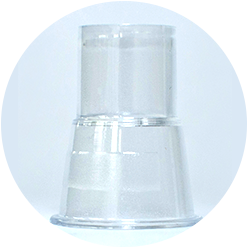
1. Make sure the test stand containing the buffer cap is positioned on a flat surface.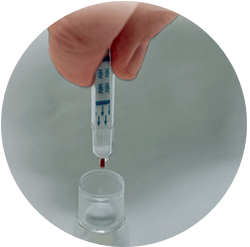
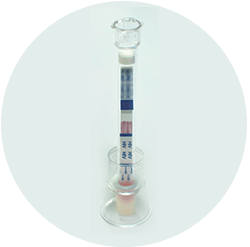
2. While holding the testing device with the point downward,
insert it firmly into the stand to puncture the foil cover of the buffer cap.
Push down very firmly
You will feel it snap through 3 times
3. Check for a pink stain that will start to appear less than a minute after the test device
and buffer cap have been snapped together.
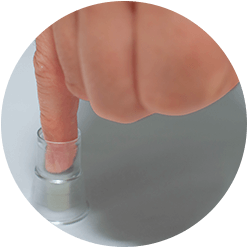
4. Apply the bandage to your finger.
Step 4
Check the time and wait for 15 minutes before reading the result.